Settings

The Settings screens are where you can configure application, security, and license settings for Arundo Edge. You can also delete historical tag data from here.
Getting There
Select Settings on the sidebar and then select the relevant screen.
Configuring General Settings
Here's how to configure general settings for Arundo Edge.
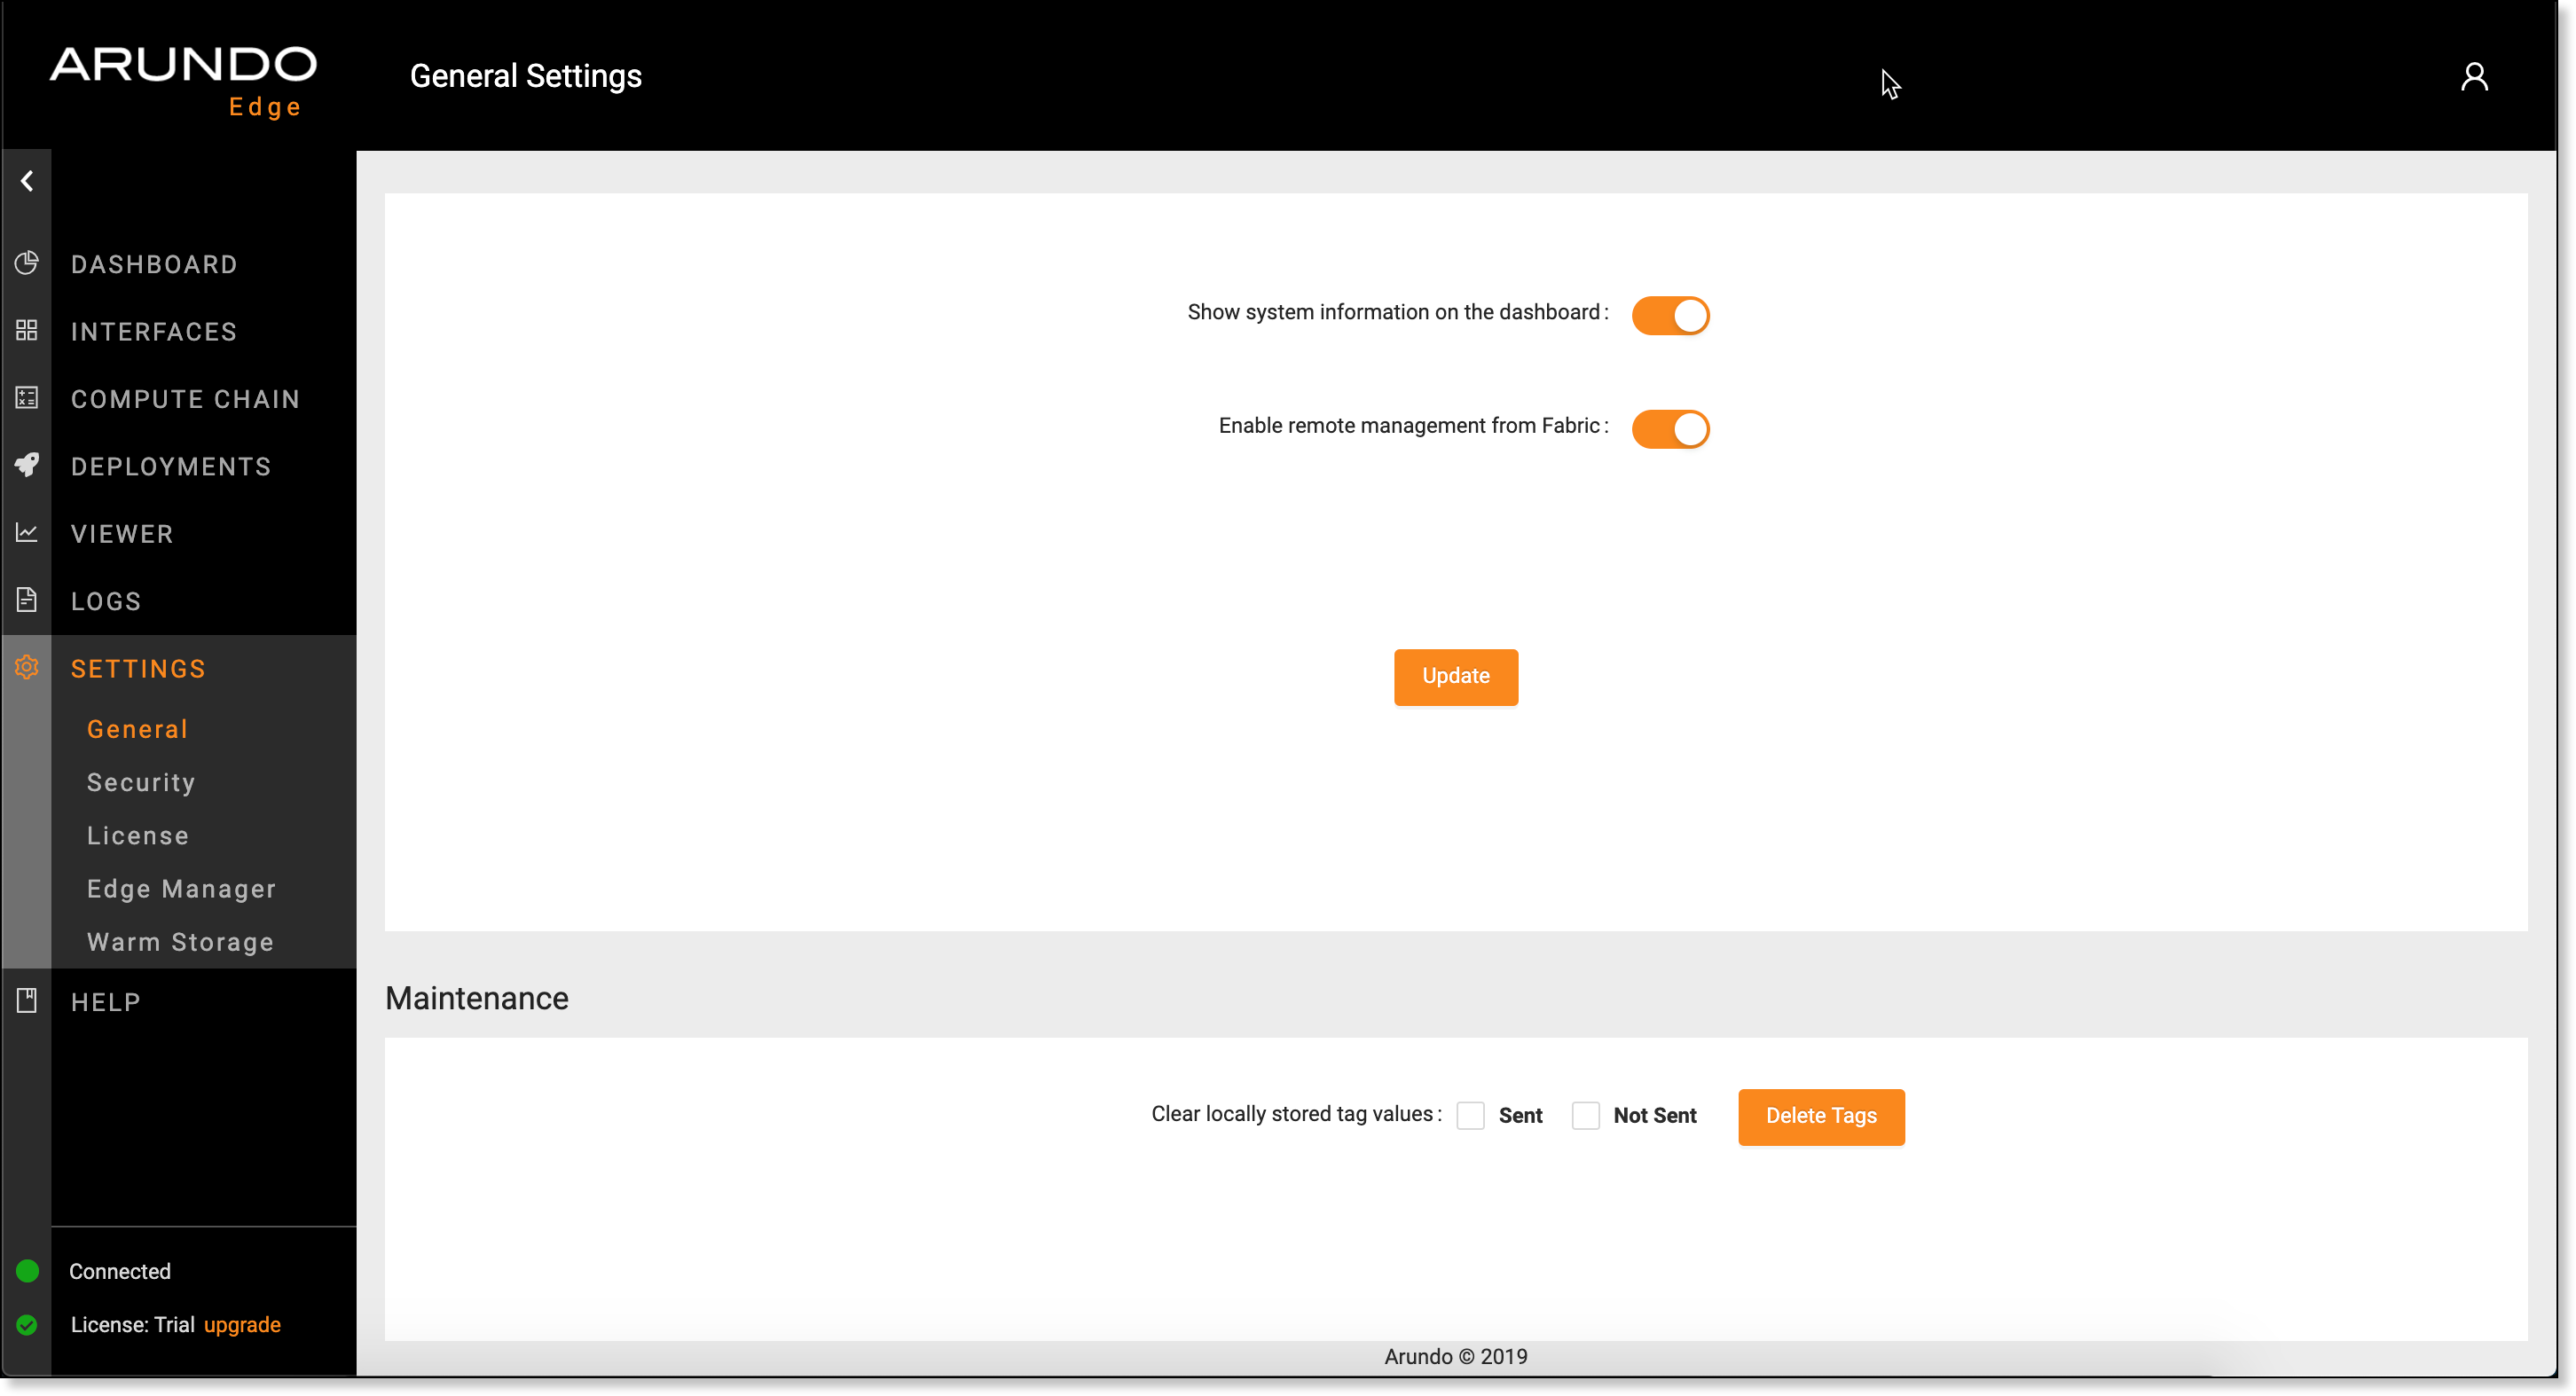
- Select Settings | General on the sidebar.
-
Select Show system information on the dashboard to display metrics about the local system on the Dashboard.
Note
When you deselect this option, the Information panel no longer displays on the Dashboard.
-
Click Update.
Deleting Historical Data
You can delete historical tag data to free up disk space on your edge device. Here's how.
- Select Settings | General on the sidebar.
- Move down to the Maintenance panel.
-
In Clear locally stored values, select the following options as necessary:
- Select Sent to delete values stored for data sent to your cloud environment.
- Select Not Sent to delete values stored for data not yet sent to your cloud environment.
-
Click Delete Tags.
Enabling SSL Encryption
SSL (Secure Sockets Layer) encryption establishes secure connections to protect your data. Here's how to enable SSL encryption for data sent from Arundo Edge.
Prerequisites
- Purchase an SSL certificate
- Download the SSL certificate files to the edge device
- Install the SSL certificate on the edge device
- Select Settings | Security on the sidebar.
- Select Enable.
- In Certification, either paste the content of the SSL certificate or drag and drop the file.
- In Key, either paste the content of the private key or drag and drop the file.
- (Optional) In CA (Certificate authority), either paste the content of the CA bundle file for the SSL certificate or drag and drop the file.
- Click Update.
When you click update the UI needs to restart to re-connect through the secure channel.
Upgrading from a Trial License
Here how to upgrade from a Trial to a Full license.
Prerequisite
- Select Settings | License on the sidebar.
- Enter your license key.
-
Click Validate.
- If the validation is successful, no further action is required.
- If the validation is unsuccessful, contact our Customer Support team for further assistance.
Connecting to Arundo Edge Manager
Arundo Edge Manager is a browser-based, remote management application for Arundo Edge. Once you connect an edge device to Arundo Edge Manager, you can monitor the device from anywhere and deploy machine learning models to the device.
Here's how to connect an edge device to Arundo Edge Manager.
Prerequisite
Add the device to Arundo Edge Manager and generate an edge device token.
- Select Settings | Edge Manager on the sidebar.
- Enter the edge device token generated when you added the device to Arundo Edge Manager.
- Click Update.
Setting Up Warm Storage
You can store data in a TimescaleDB warm storage database on your edge device. This gives you the ability to operate Edge with a local historian and store tag values selectively for longer periods of time.
If you are running machine learning models on the edge, this gives your models the ability to query historical time series data to deliver insights.
Here's how to set up warm storage on your edge device.
Prerequisite
Install Arundo Edge v3.0 (676) or later
- Select Settings | Warm Storage on the sidebar.
- In Host, enter the IP or URL for your warm storage database.
- In Port, enter the port to use for the connection to the warm storage database.
- In Database, enter the name of your warm storage database.
- In User and Password, enter the login credentials for Arundo Edge.
-
(Optional) Complete the following to delete historic tag data automatically:
-
Select Enable automatic cleanup.
- In Daily run time, select the time to delete old tag data each day.
-
In Max age (days), select the number of days worth of data to keep in the warm storage database.
-
Click Update.
